How To Run A Node On A Linux VPS
Experienced users may want to set up their own Fuse Ember Node on a Linux system. The following instructions are provided as a guideline only, and information may be incomplete or out of date. Ensure that you back up your data before starting. You can read the official Fuse Ember Node documentation or contact Fuse support for more information.
1. Generate a burner wallet
Start by creating a new wallet with a random seed phrase, using a service like https://chaintool.tech/generateWallet/evmWallet or https://iancoleman.io/bip39/. You can run these offline for better security.
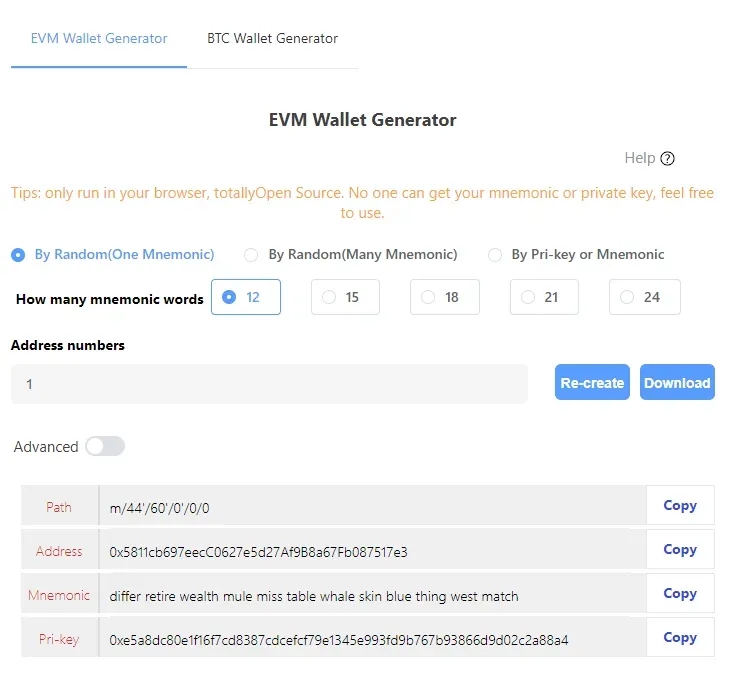
Once you have generated a new mnemonic, private key, and address, you can export these by clicking Download, or copy and paste them.
2. Delegate your node
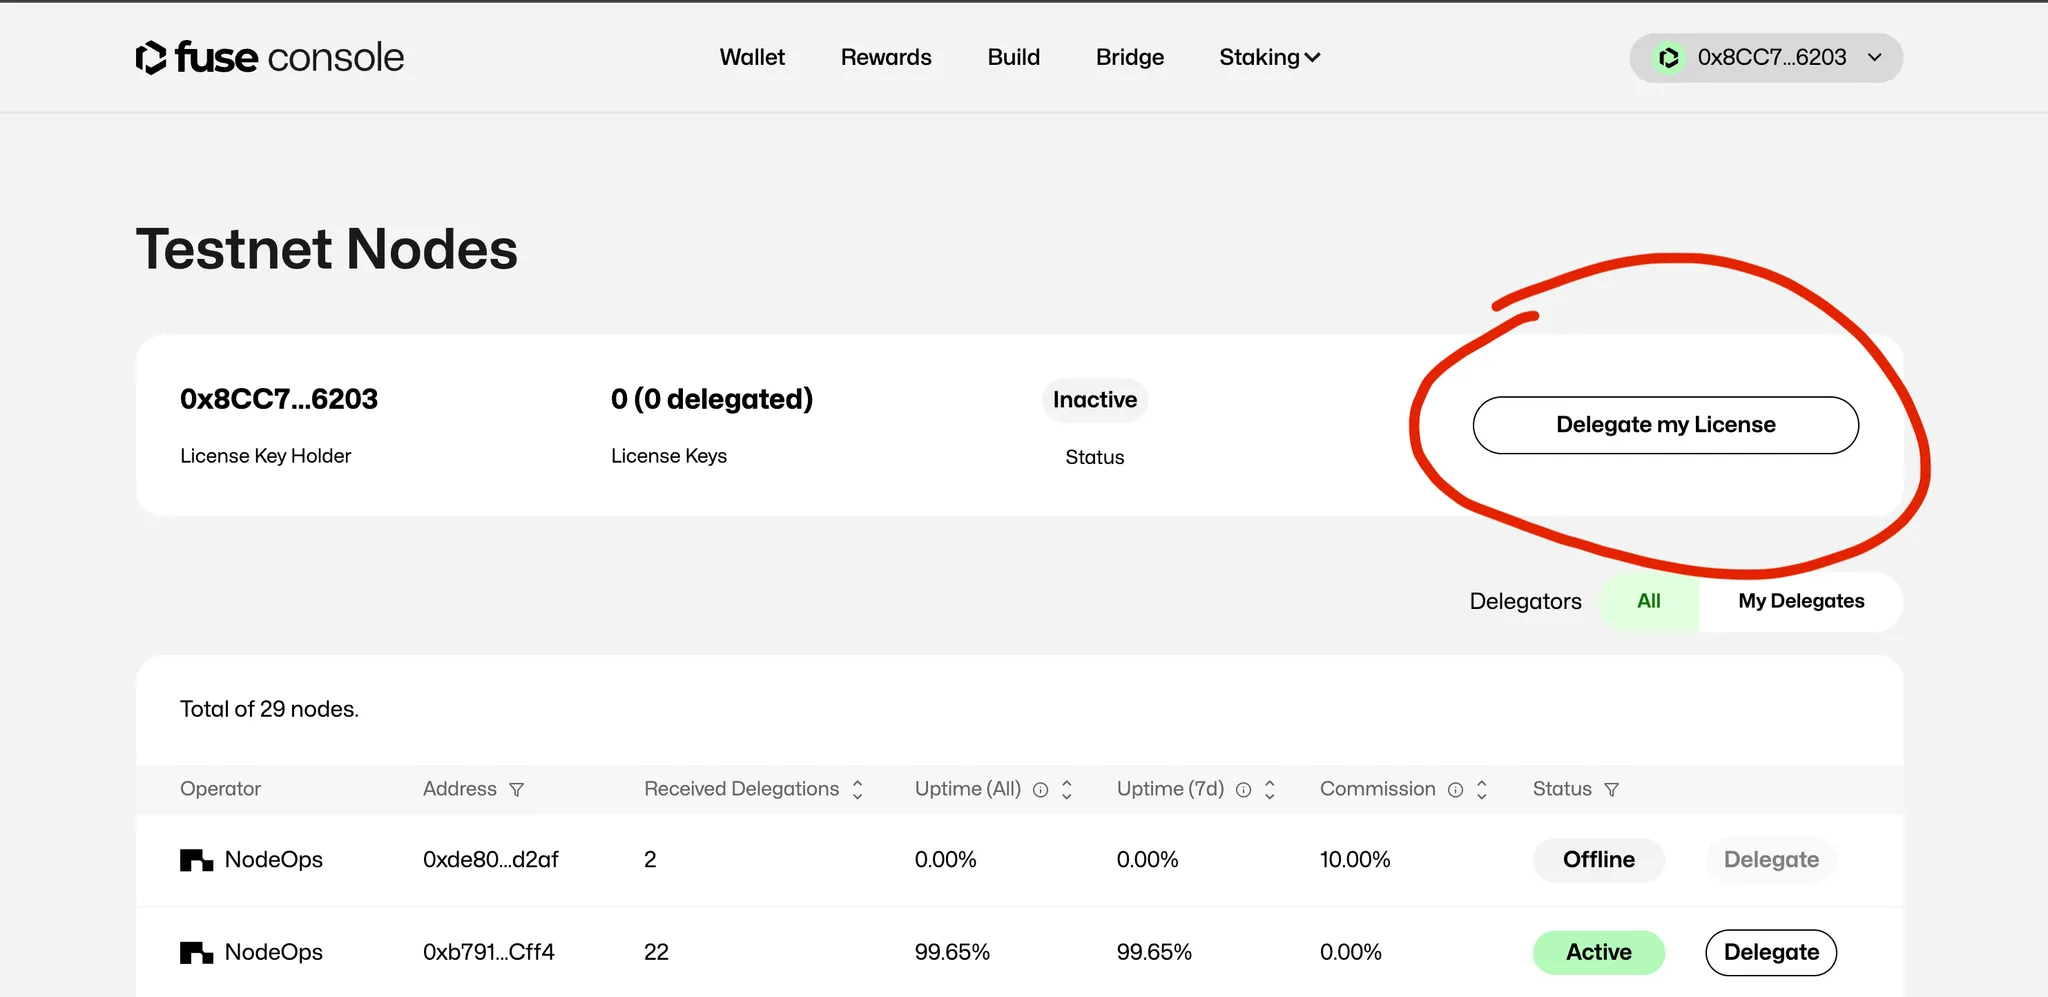
Go to Fuse testnet Nodes, connect your wallet containing your Fuse Node NFT, and delegate it to the wallet address you generated in the previous step.
3. Set up your VPS
There are lots of VPS providers to choose from, but you should ensure you select at least the minimum hardware requirements, and ideally more:
Minimum:
- CPU with 1+ cores
- 2 GB RAM
- 4 MBit/sec download speed
Recommended:
- Fast CPU with 2+ cores
- 4 GB+ RAM
- 8+ MBit/sec download speed
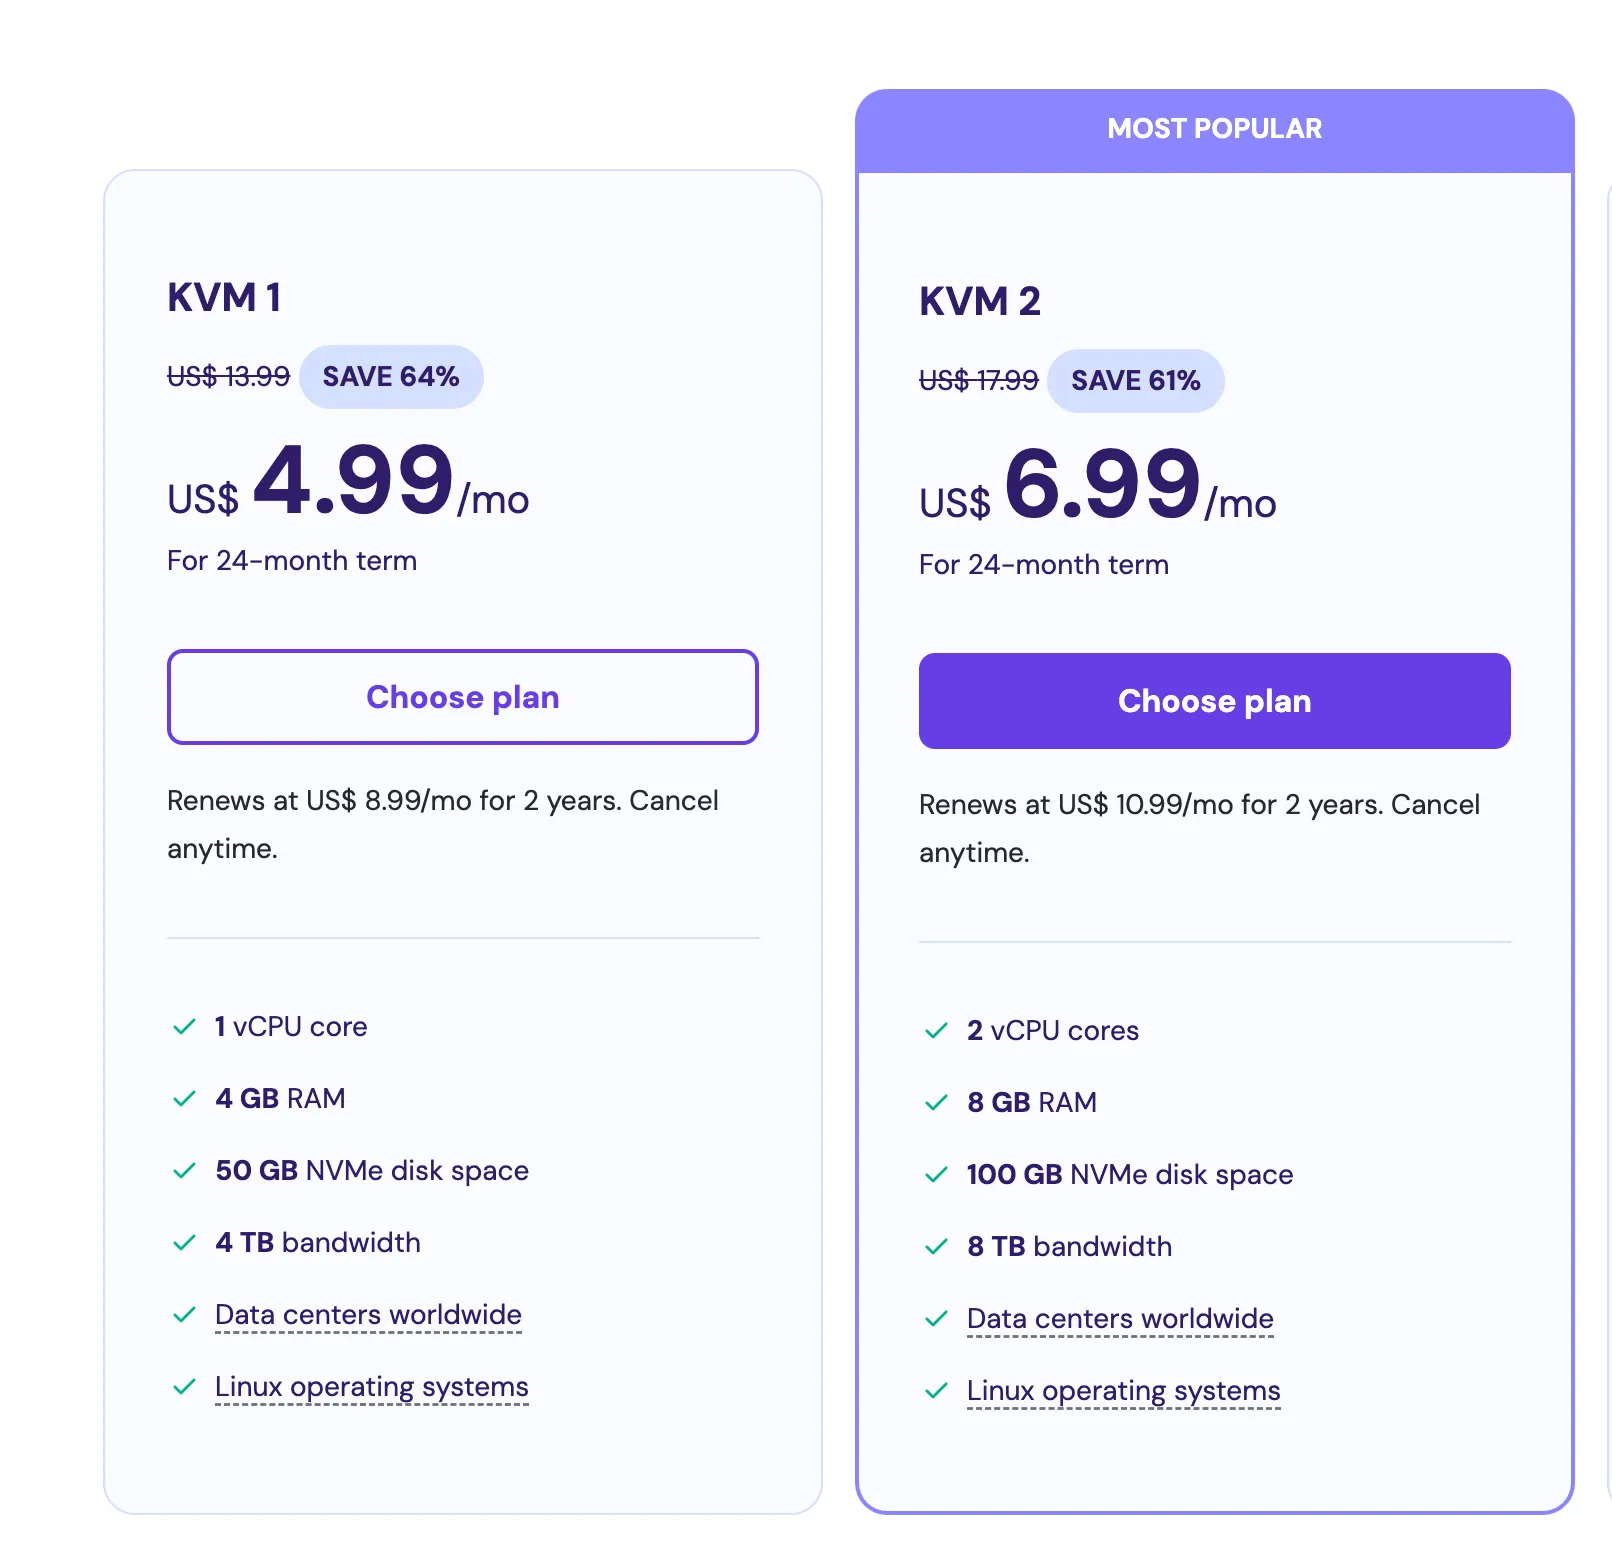
This guide uses Hostinger, with a KVM 2 setup, which provides 2 vCPU cores.
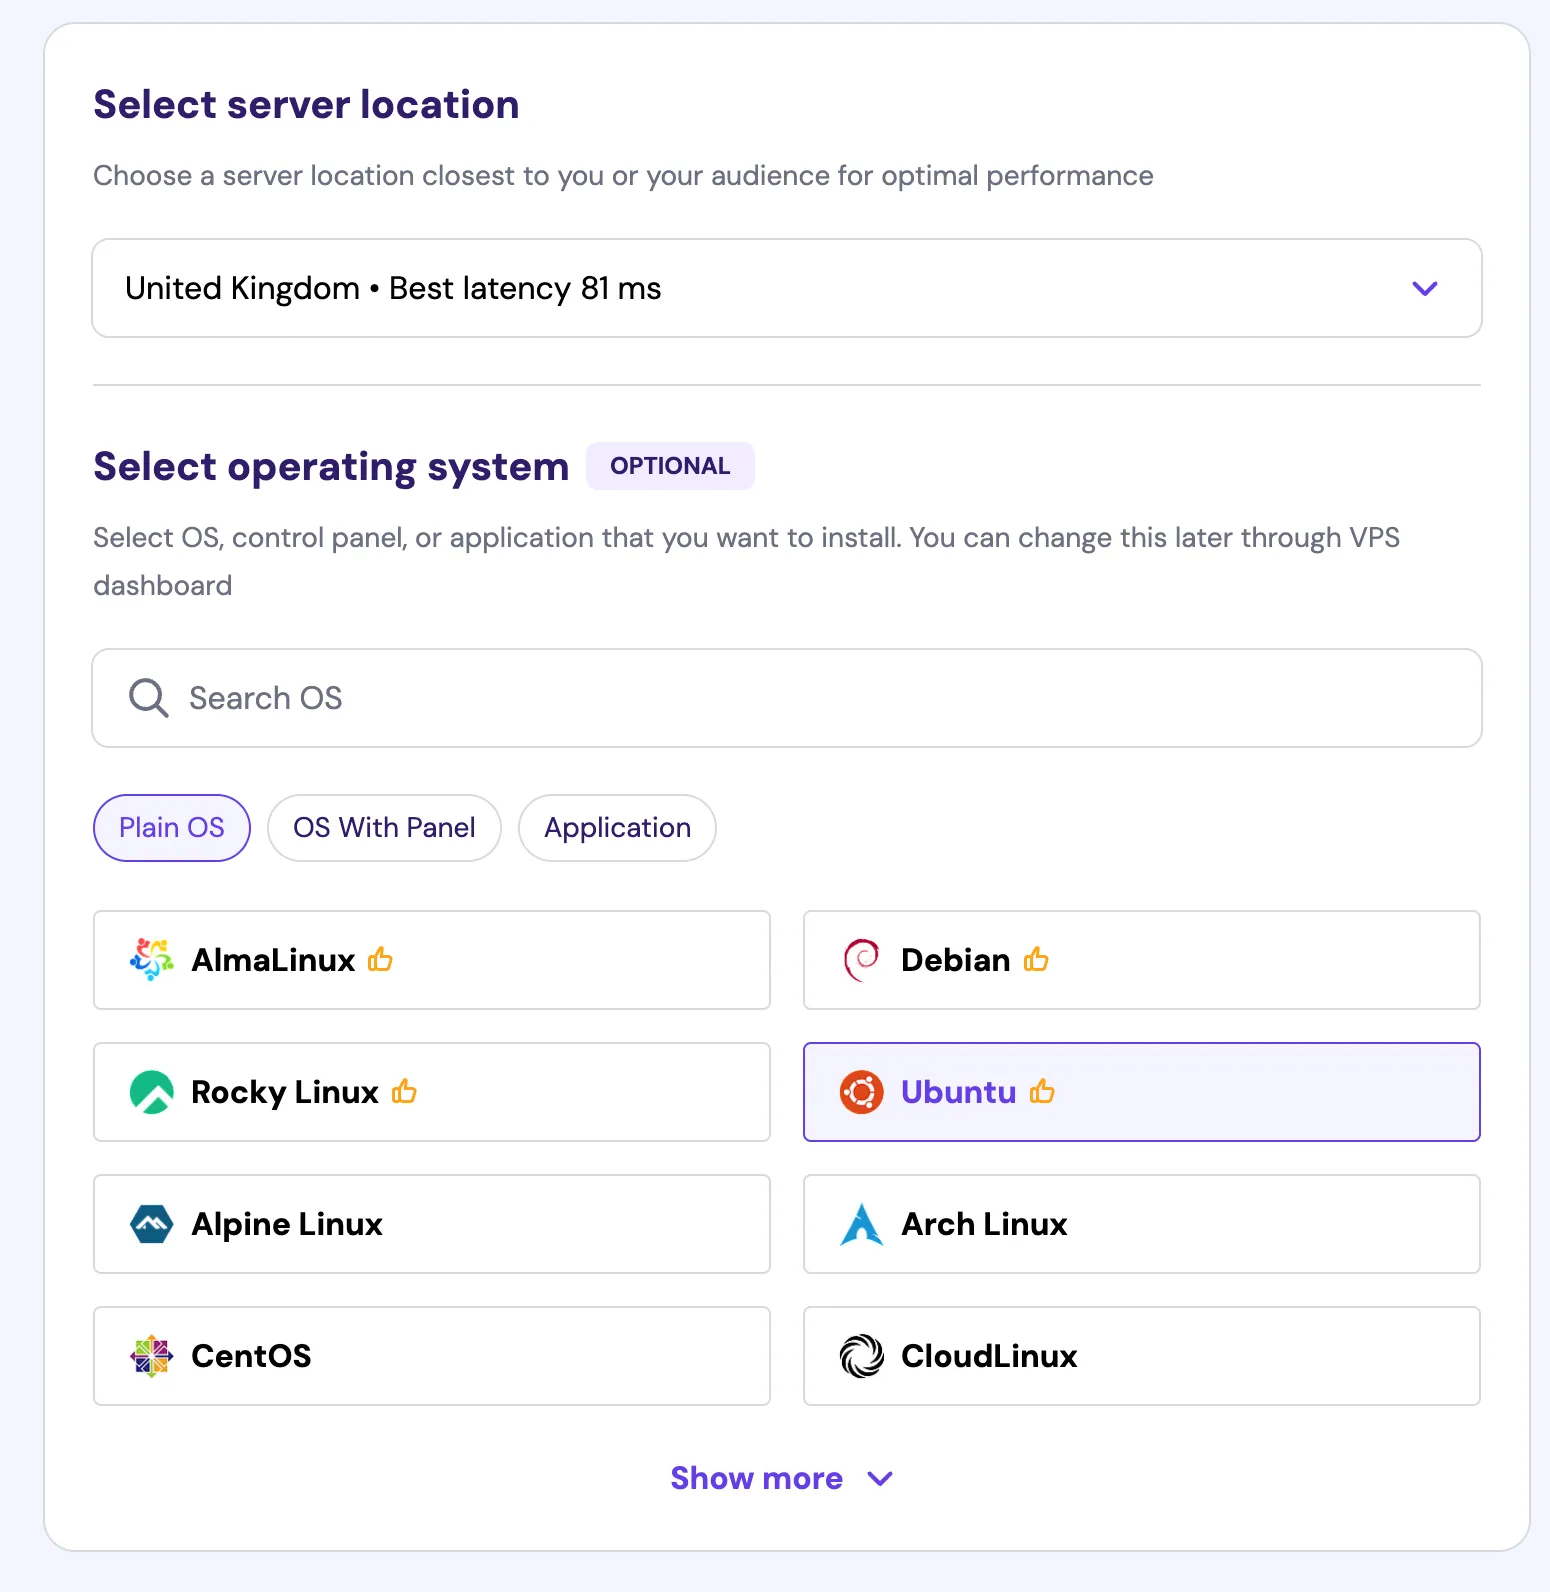
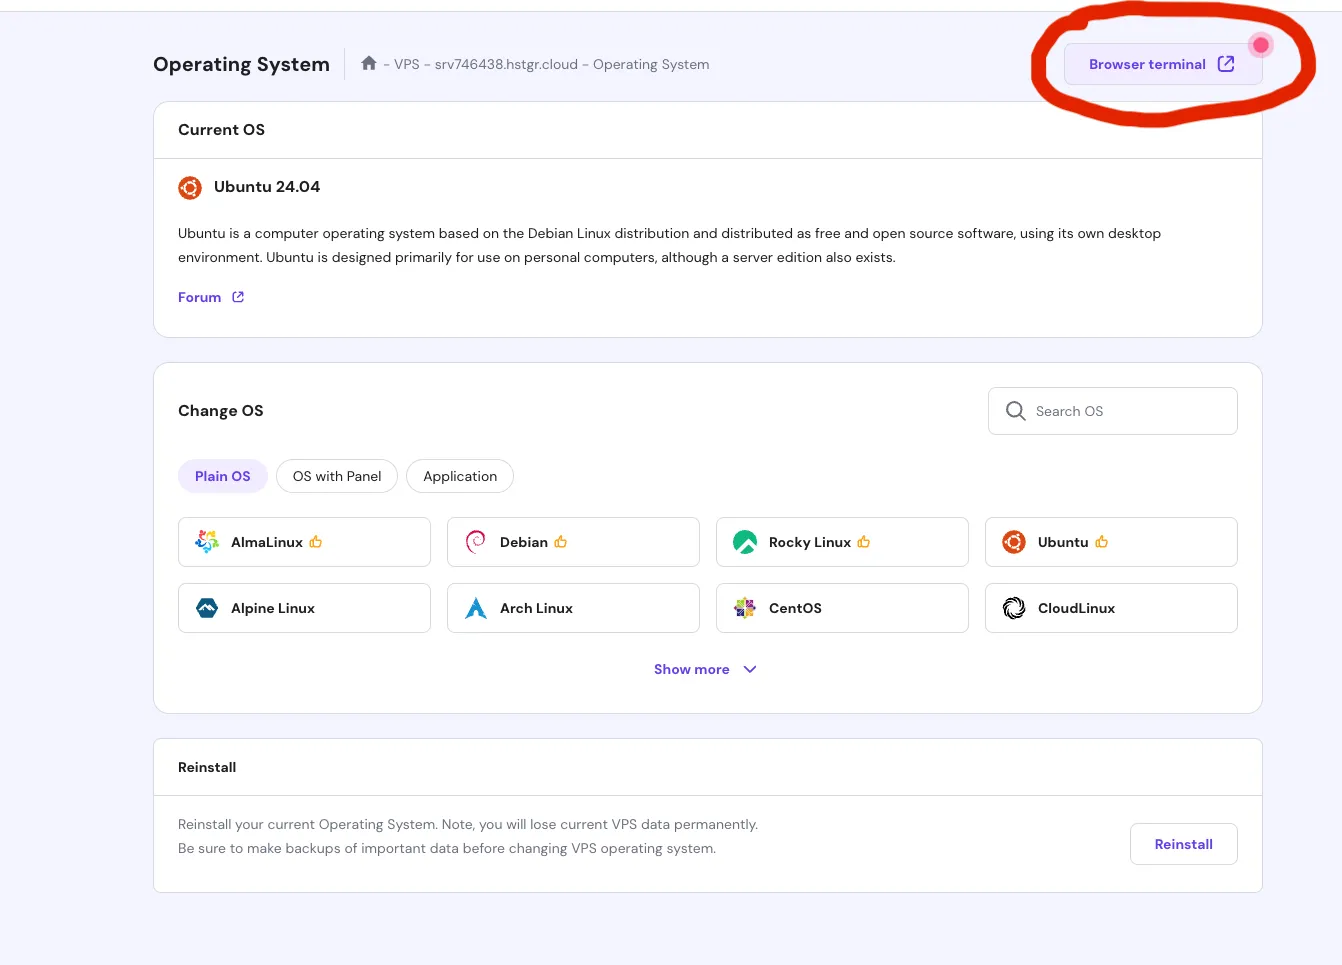
Select Ubuntu to run the Fuse client.
After setup, go to the VPS Terminal.
4. Update System and Install Dependencies
Make sure everything is up to date by running the following code in the terminal:
# Update system packages
apt-get update
# Install required dependencies including libssl1.1
apt-get install -y wget tar
# Install libssl1.1 (required by the binary)
echo "deb http://security.ubuntu.com/ubuntu focal-security main" > /etc/apt/sources.list.d/focal-security.list
apt-get update
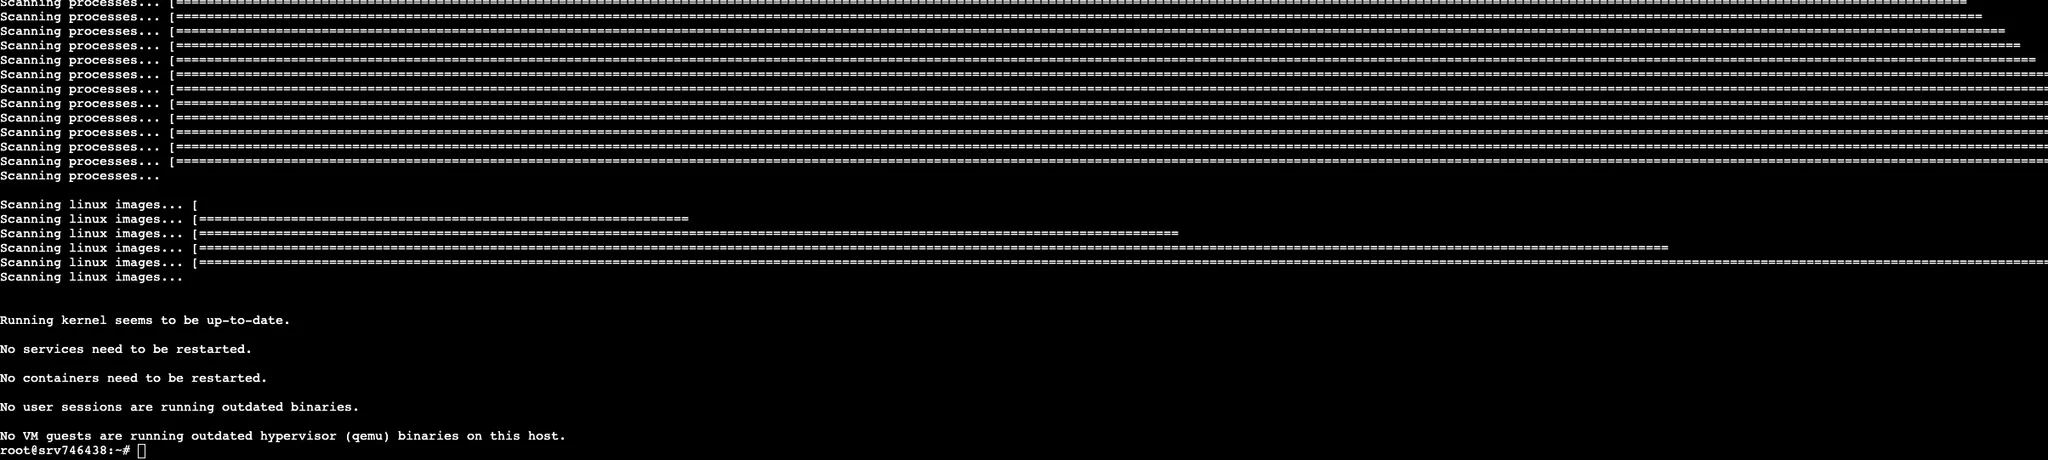
apt-get install -y libssl1.1
You should see a response like the following:
5. Create directory and download the Fuse Ember client
# Create directory for the client
mkdir -p ~/fuse-light && cd ~/fuse-light
# Download the pre-built binary
wget https://github.com/fuseio/avail-light/releases/download/v1.0.4/fuse-light-client-v1.0.4.tar.gz
# Extract the archive
tar -xzf fuse-light-client-v1.0.4.tar.gz
# Check what files were extracted
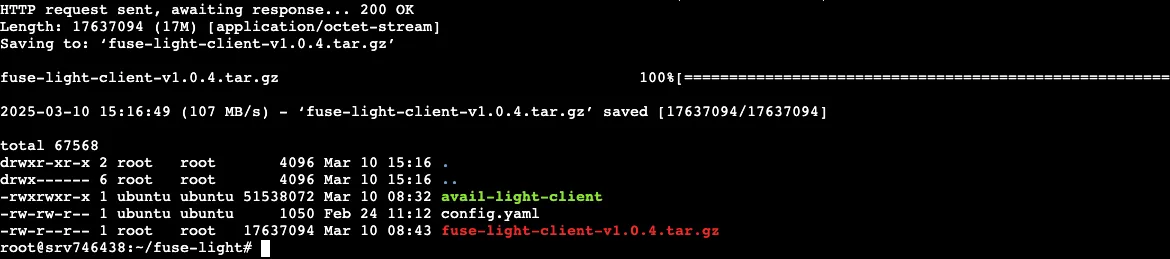
ls -la
You should see a response as follows:
6. Create your configuration file
# Create config file with only the required fields
cat > config.yaml << EOF
sync_start_block = 1
genesis_hash = "DEVTST"
avail_path = "avail_path"
avail_secret_key = "bottom drive obey lake curtain smoke basket hold race lonely fit walk//Alice"
check_nft_interval=300
check_nft_endpoint="https://monitoring.avail.fuse.io/check-nft"
commission_rate = "10"
operator_name = "SELF_RUN"
reward_collector_address = "0xYOUR_REWARD_ADDRESS"
private_key = "0xYOUR_PRIVATE_KEY"
EOF
For reward_collector_address you should set whatever address you want to receive rewards, while private_key should be the private key from the wallet you created in step 1. Your NFT is delegated to this wallet.
7. Make Binary executable
# Make the binary executable
chmod +x avail-light-client
8. Create Systemd service
# Create a systemd service file with the --network mainnet flag
cat > /etc/systemd/system/fuse-light.service << EOF
[Unit]
Description=Fuse Light Client
After=network.target
[Service]
User=root
WorkingDirectory=/root/fuse-light
ExecStart=/root/fuse-light/avail-light-client --config config.yaml --network mainnet
Restart=on-failure
RestartSec=3
LimitNOFILE=65535
[Install]
WantedBy=multi-user.target
EOF
9. Start and Enable the service
# Reload systemd
systemctl daemon-reload
# Enable and start the service
systemctl enable fuse-light
systemctl start fuse-light
# Check the status
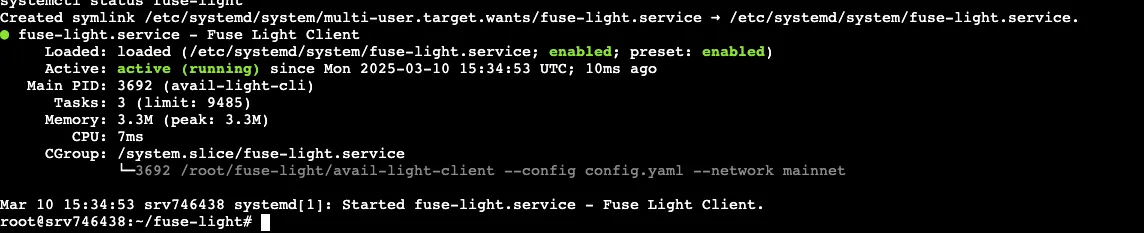
systemctl status fuse-light
This should result in the following output:
10. Monitor the logs
Finally, you can monitor the node with the following command:
# View logs
journalctl -u fuse-light -f
That's it, you're all done! You can contact Support via Discord if you need more assistance.